
A geofence is a virtual boundary for a real-world geographic area. Traxmate can generate events and alarms when a tracker enters or leaves the area boundary. The event will then be processed by set rules and distributed to subscribers, such as users or external systems.
Traxmate geofence features:
- Define geofence areas
- Define Place Entry and Exit alert rules
- Subscribe to geofence alerts
- See geofence alerts in alerts lists and on the map
Guide:
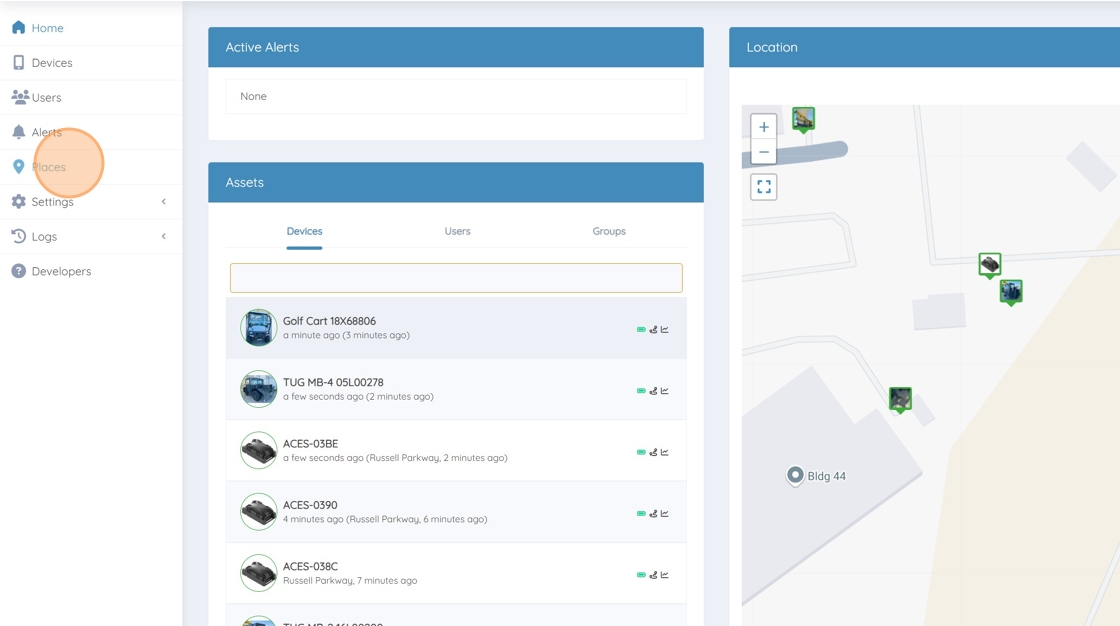
1. Navigate to https://online.traxmate.io/#/pages/home

2. Click “Places”
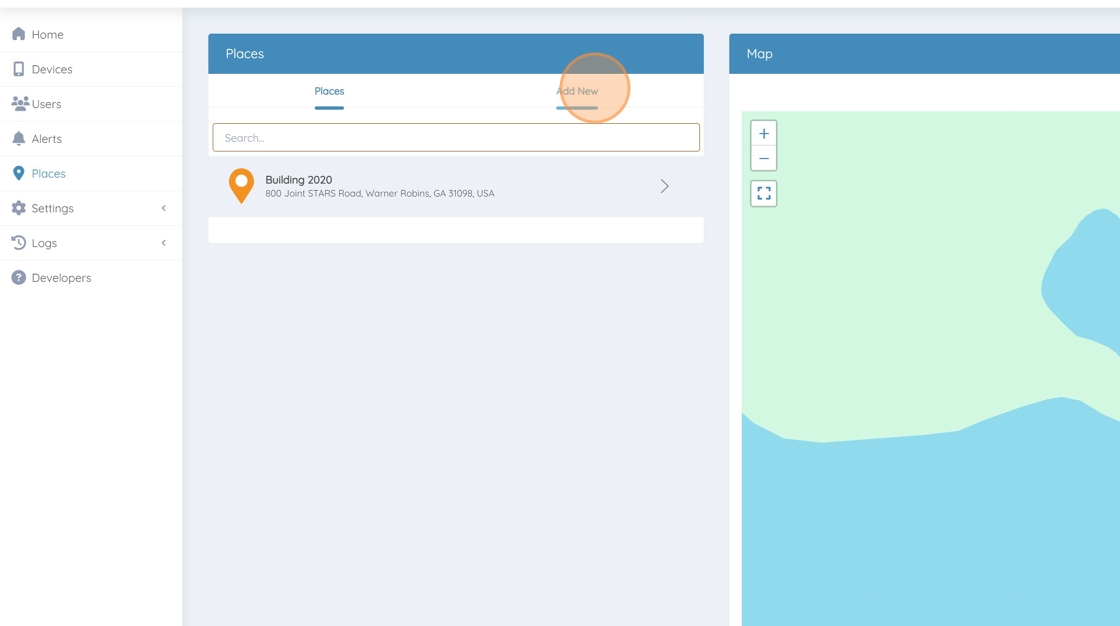
3. Click “Add New”
4. Find your Area or Building on the map
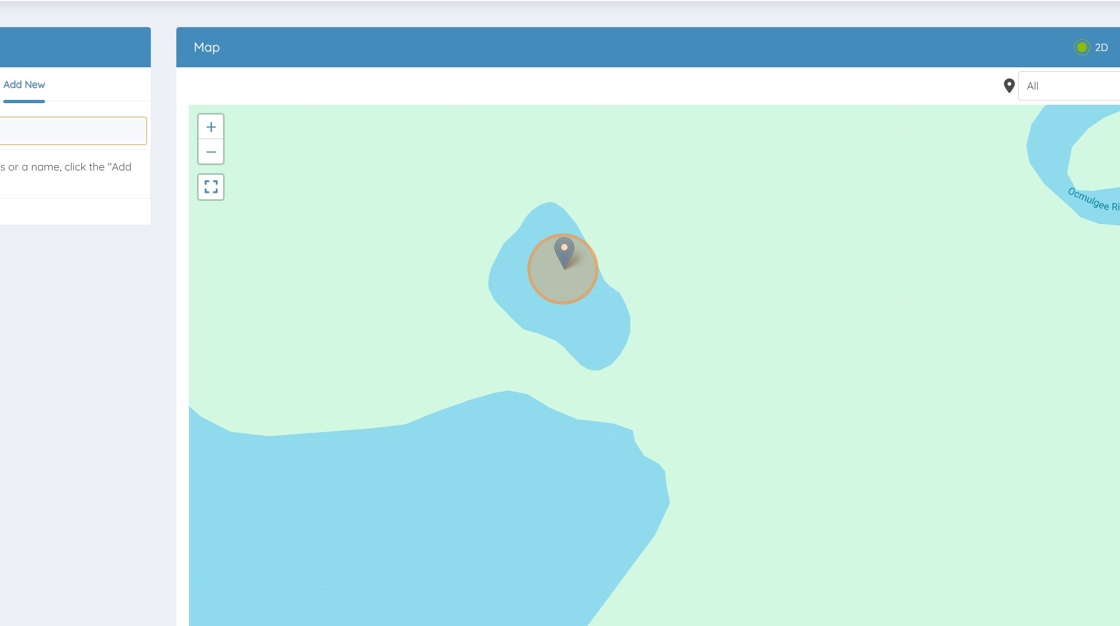
5. Left-click to “Add place”

6. Select “Area” in the “Type” menu

7. Rename your Geofence

8. Click the polygon symbol to “Draw the Geofence”

9. Start to create your geofence by left-clicking on the map

10. Click here.
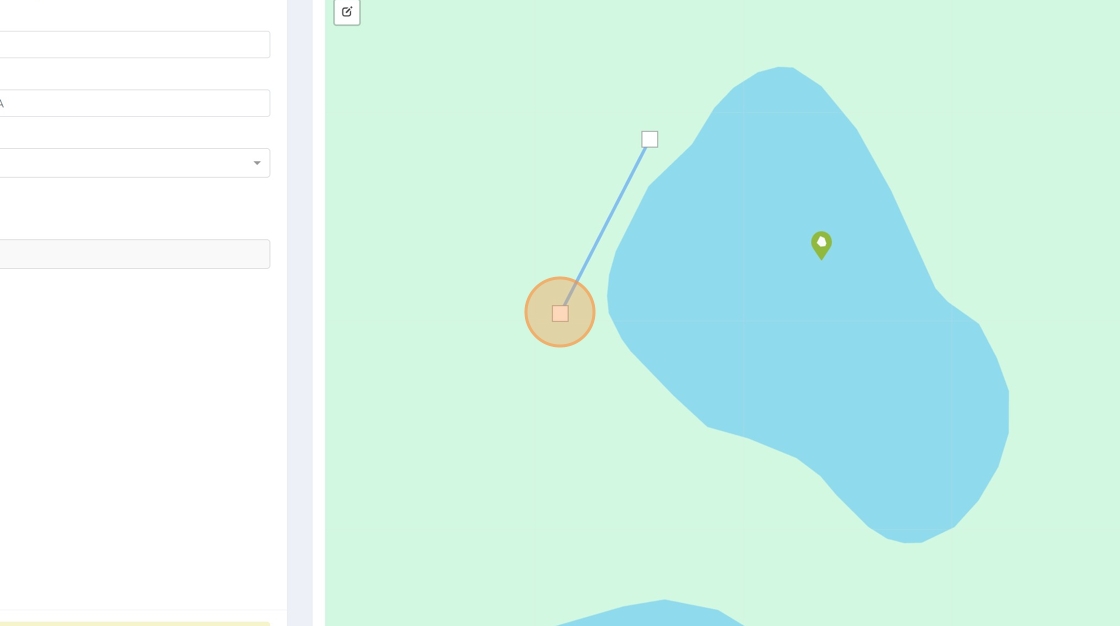
11. Click here.

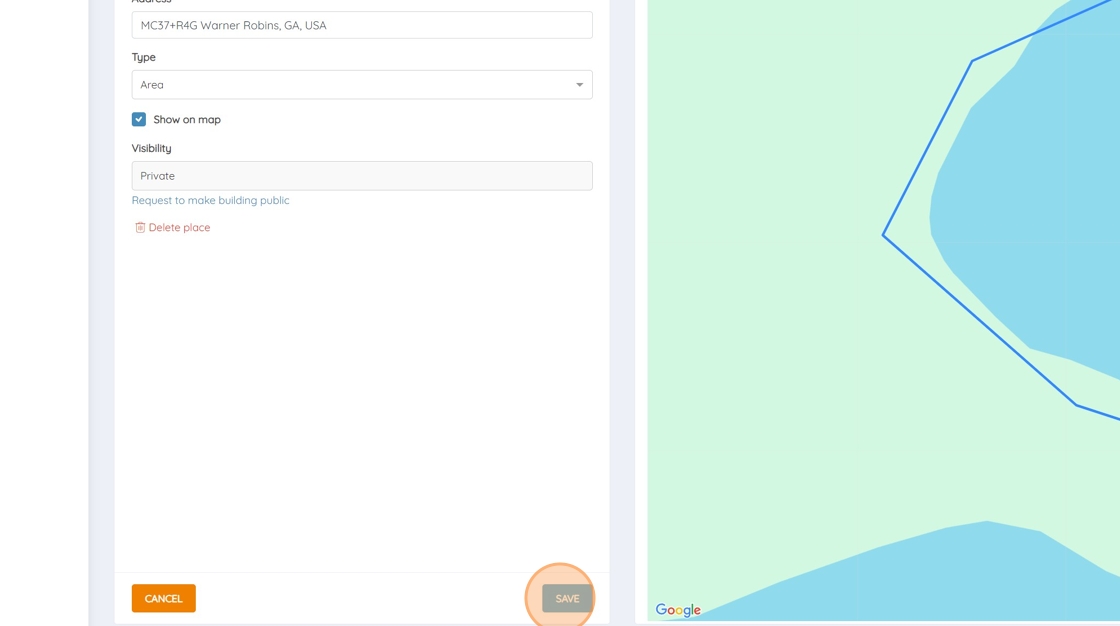
12. Click “Save”
13. Click “Settings”
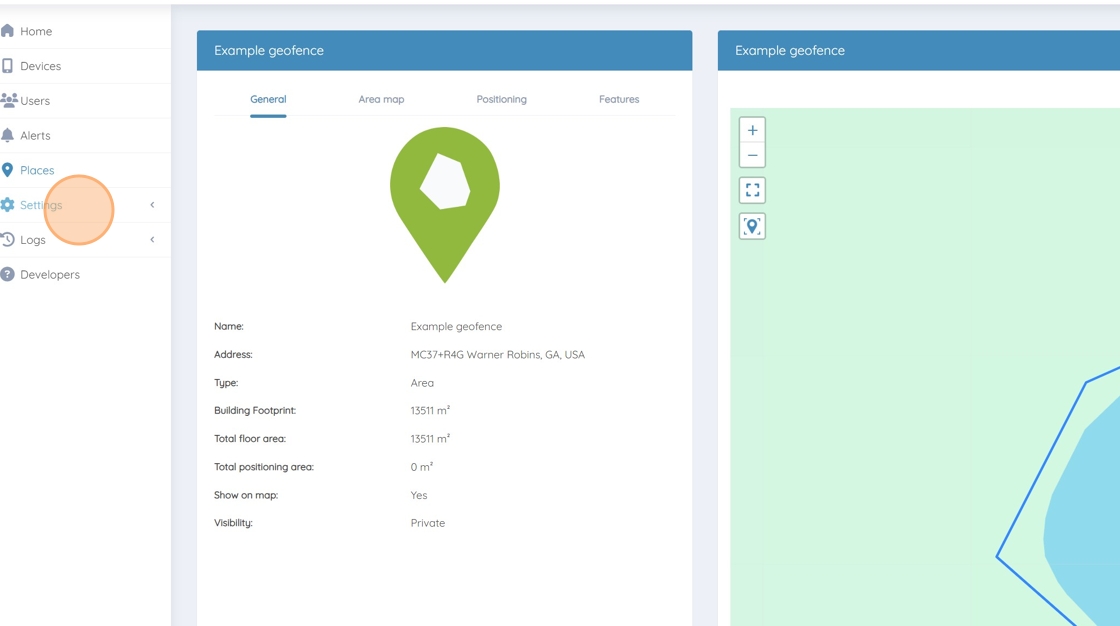
14. Click “- Alert Rules”

15. Click the orange “+” button

16. Name your geofence, for example “Example Geofence”
17. Select the correct Alert Type

18. For example “Place Exit Alert Type”

19. Select the correct “Trigger”

20. For example “Place Exit”

21. Click the map icon to find the geofence

22. Find the geofence you have created

23. Click “Done”

24. Click “Submit”
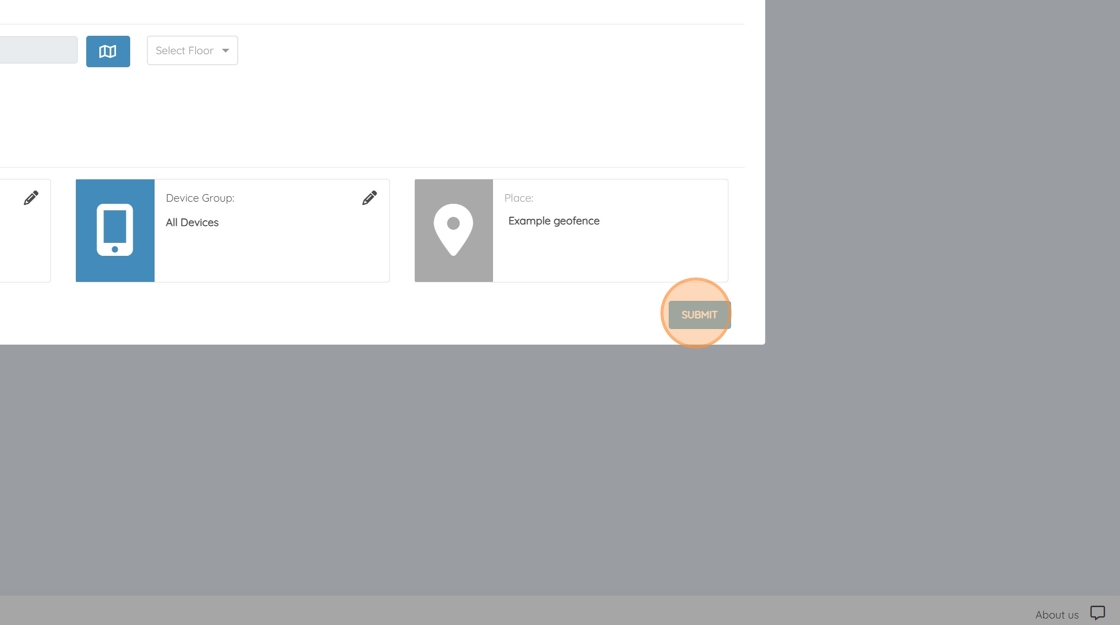
25. Click “Done”

26. You have now created a geofence